
Dehancer Film Emulation Plugin Review 2026
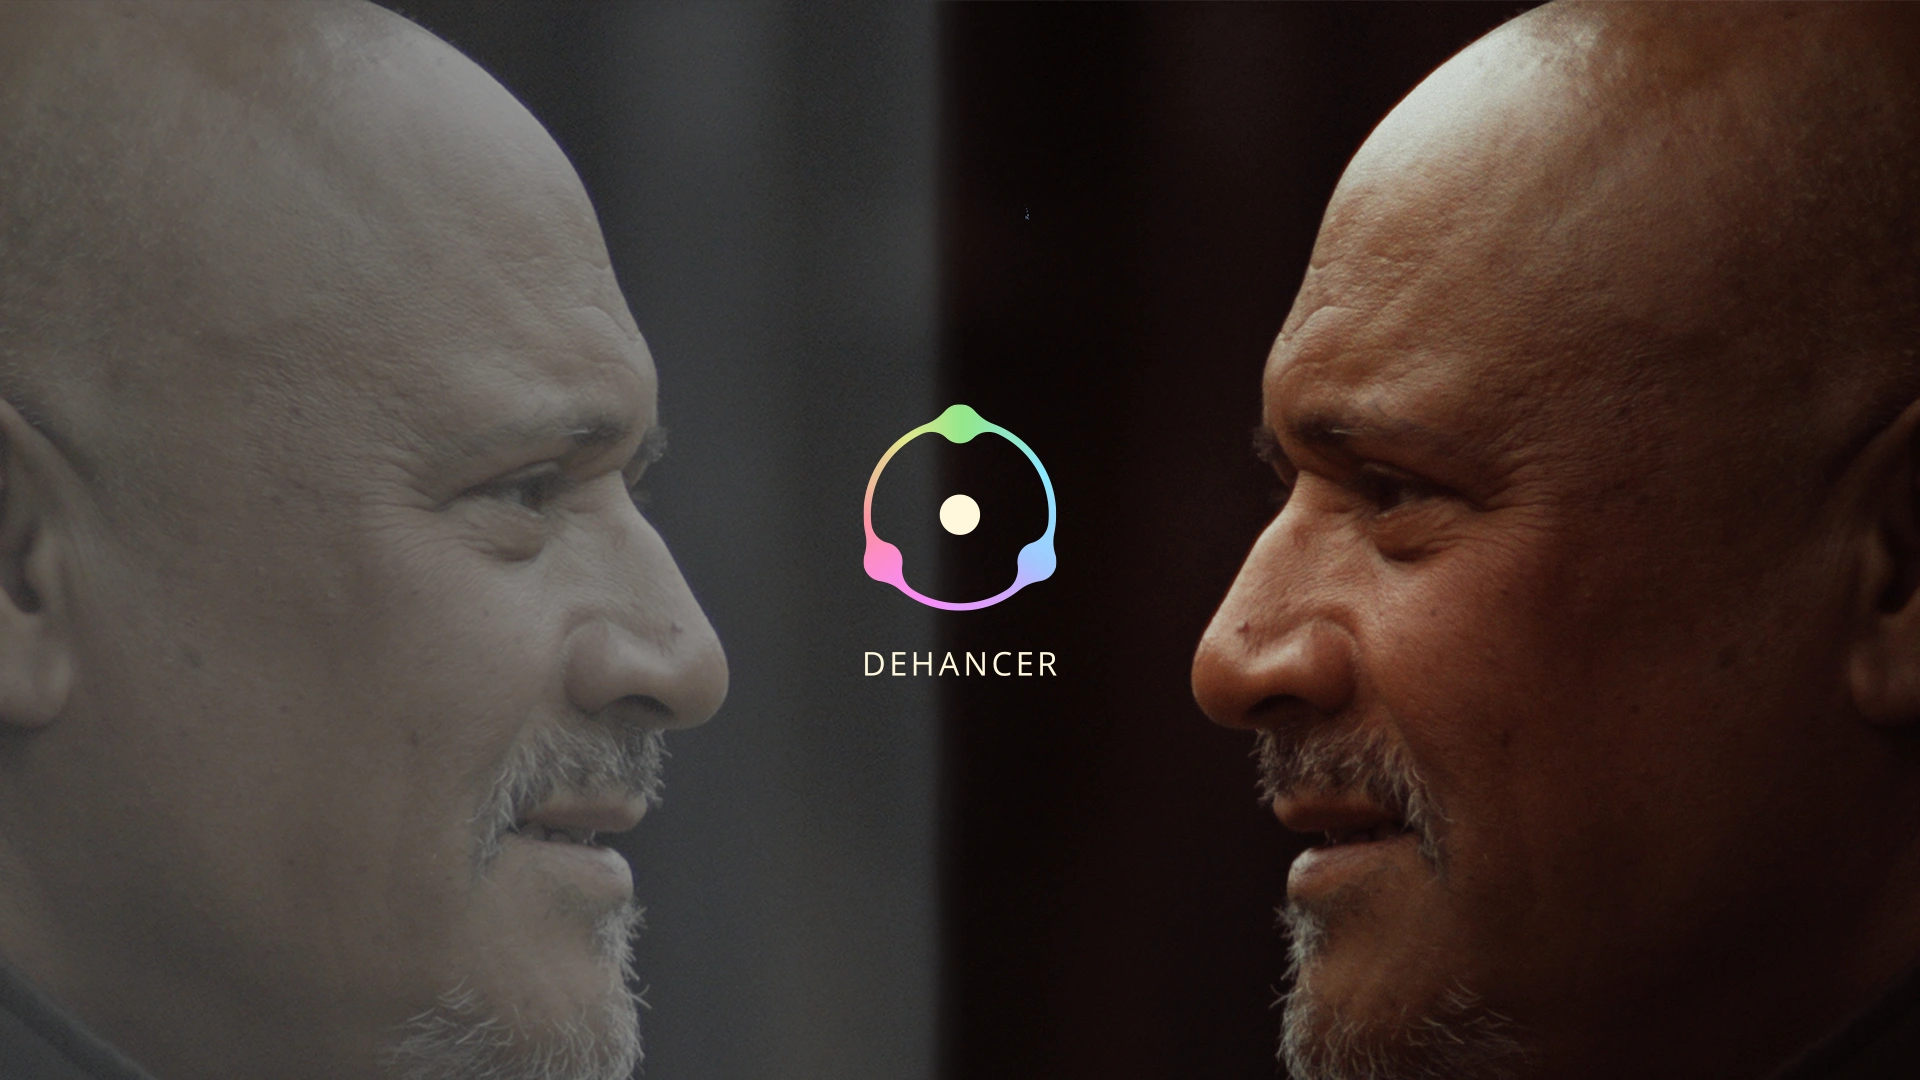
I edit all my footage in DaVinci Resolve. To see how it performed in a real production environment, I recently tested the Dehancer plugin on some footage I filmed for a local event.
First Impressions and Interface
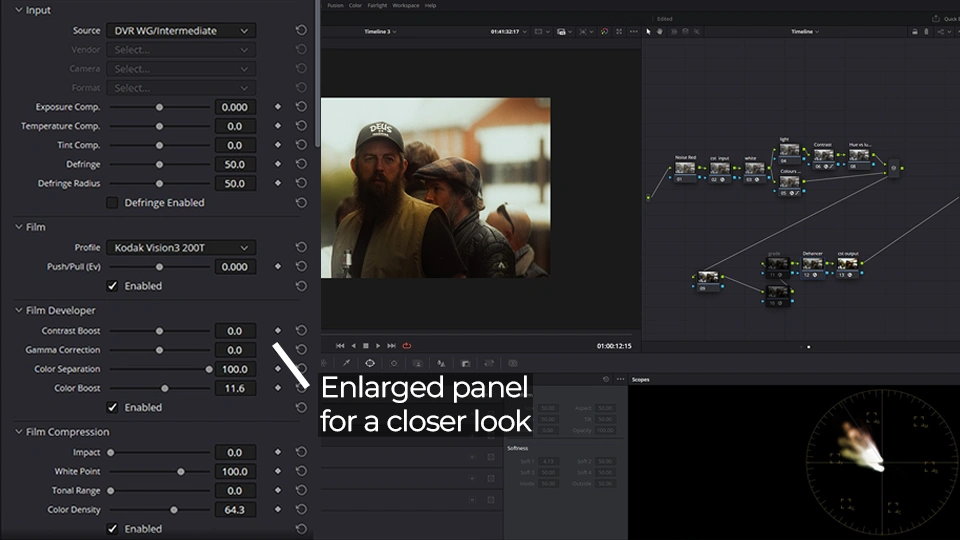
One of my favourite features right away is the nice disable all button at the bottom. This lets you start fresh with no adjustments already made. At the top of the panel, it allows you to select your source, such as DaVinci Wide Gamut or your specific camera color science. I edit in DaVinci Wide Gamut for my projects, so I selected that as my baseline.
The layout has toggles to enable or disable each effect individually. If you like one specific look but not another, you can quickly switch it off without ruining the rest of your grade.
My Step-by-Step Grading Workflow
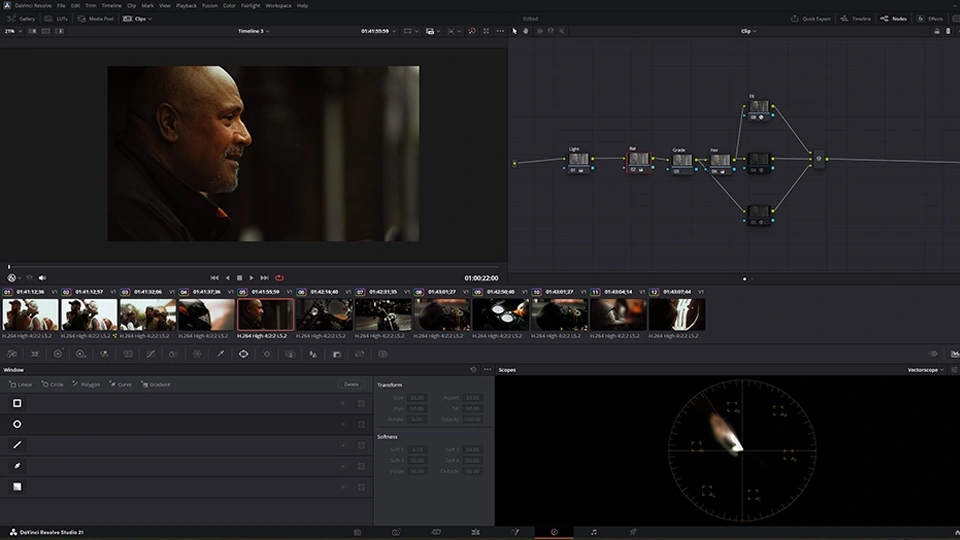
My process in DaVinci Resolve is normally a timeline and clip split workflow. This approach allows me to keep both sections clutter free. I can make either individual adjustments to a single shot, or adjust everything at once when adding a unified film look to a large collection of footage.
I made my general adjustments outside of Dehancer such as contrast, colour hue and saturation, shadows, mids, highlights.
Here's how I set up the event footage inside the plugin:
- Source Setup: Set the input to DaVinci Wide Gamut.
- Film Stock Selection: I chose the Kodak Vision3 200T film stock, which has a really nice look to it. I love how easy it is to switch between two totally different film looks to get a completely different feel for your footage instantly.
- The Colour Head: I made some subtle adjustments in the colour head panel. This is similar to standard colour wheels, but I found it a little easier to make small, precise adjustments with the sliders or by increasing and decreasing the numbers. DaVinci's built-in colour wheels can feel a little less precise unless you prefer working in colour bars.
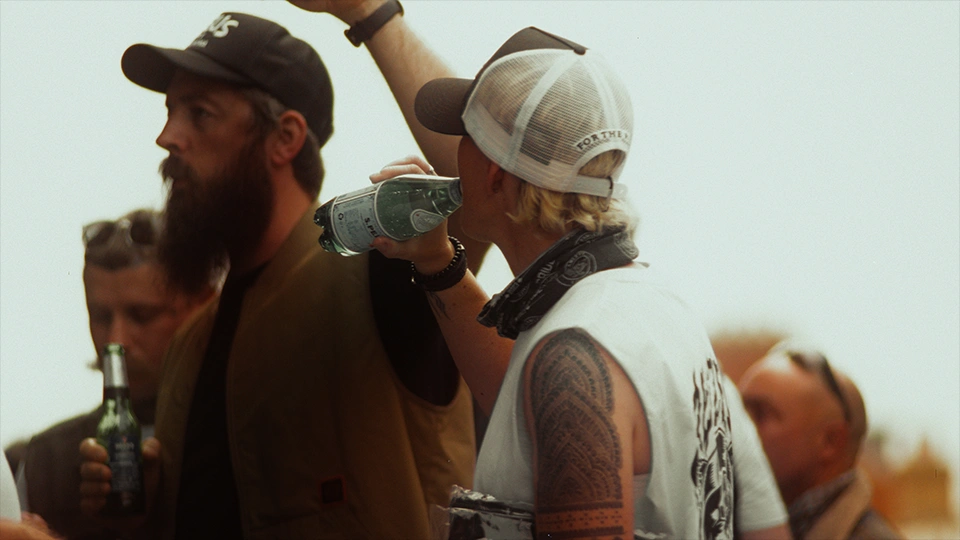
- Analogue Texturing: Dehancer has a wide variety of different effects. I particularly like the film, film grain, halation, and film damage adjustments, all of which I used on this event footage to achieve my desired look.
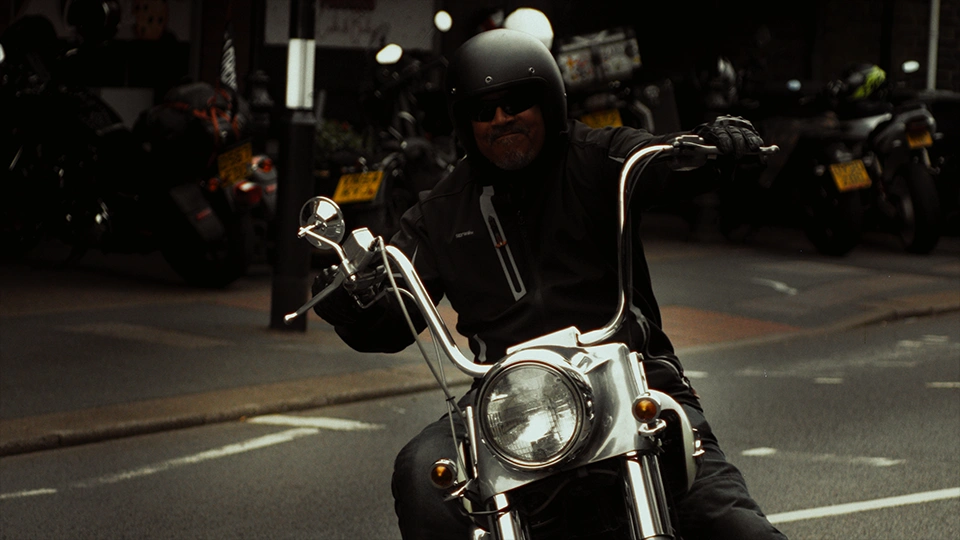
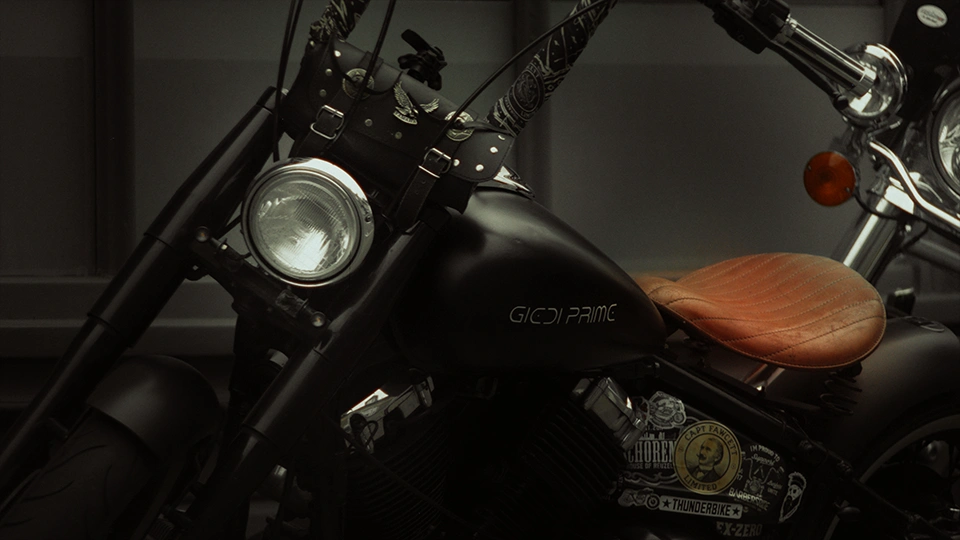
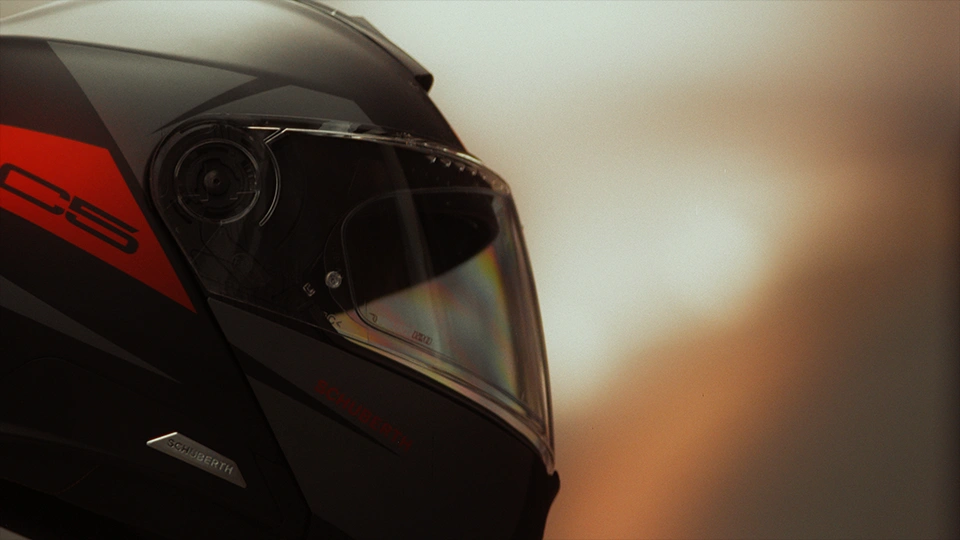
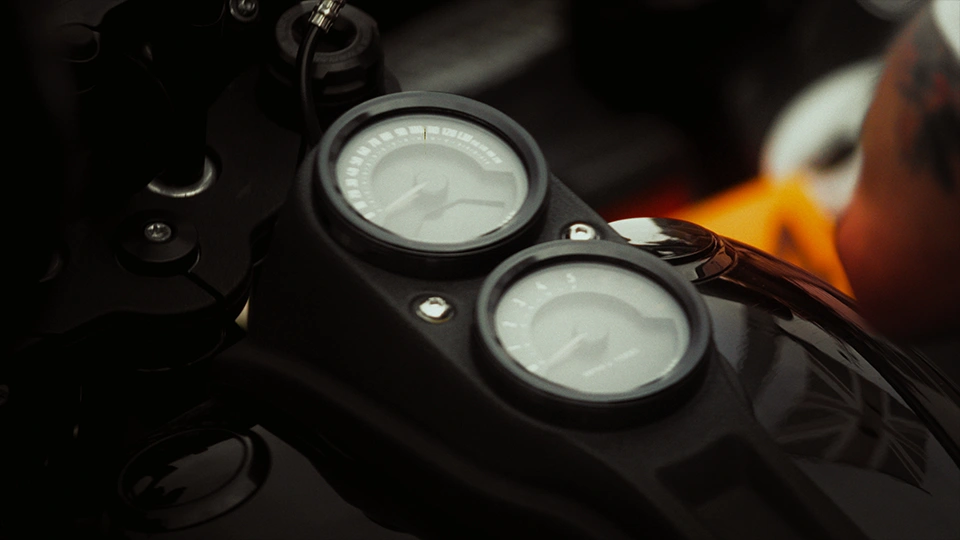
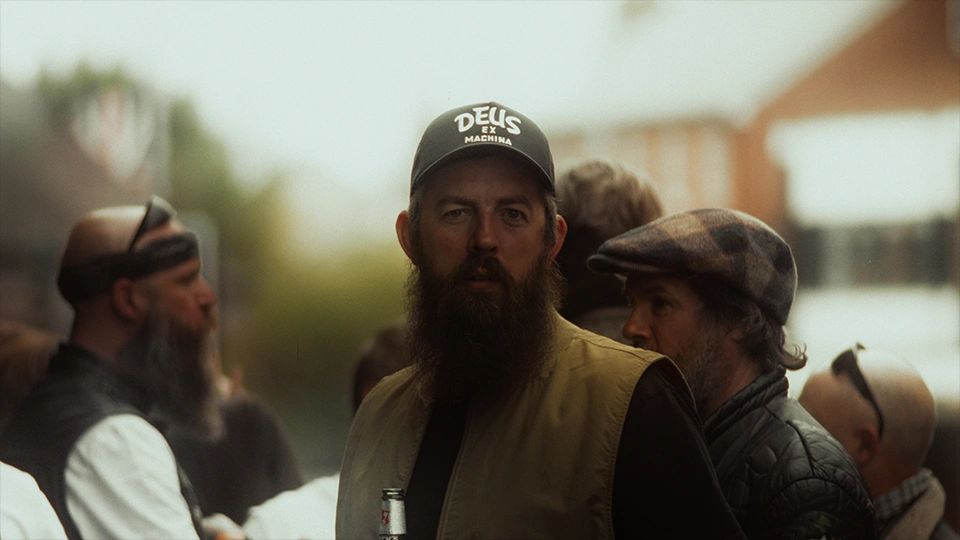
A Selection of Finished Stills
The Verdict: Who is Dehancer For?
I think the Dehancer plugin can be used by anyone who isn't afraid to experiment with their footage. However, it is probably best suited to intermediate or advanced users of DaVinci Resolve who have a particular interest in colour grading and want to elevate their final films.
I will say though, if you're not into colour grading you can use Dehancer to create LUTs if that's your thing to save time colour grading your next project.
Dehancer Discount Code
If you want to test it out on your own footage, you can download a trial directly from their site. When you're ready to purchase the plugin, you can use my exclusive discount code below at checkout to save 10% on your license.
Ready to Film Your Next Project?
Whether you're hosting a pop culture convention, running a live expo, or sports event, great video content makes all the difference. High-quality visuals build real credibility, bring out the authentic energy of the crowd, and give your show a distinct edge over the competition.
As a Bedfordshire videographer specializing in videography, film-making and content creation, I work closely with brands and organizers to capture that energy properly. If you are looking to elevate your visual presence, grow your social following, or drive more ticket sales and bookings with cinematic event video, let's chat.
If you'd like to see some of my different work,
Let's bring your next video project to life.